
1) Taking the piece I will be 'damaging', I take my dull hobby knife and tap it along the edges of the piece. For more damage I sometimes gauge out a chunk of plastic or so. This piece that is shown has only minor wear because it is the back of the shield. After the damaging I paint. Then gloss top-coat.
 2)After the top coat has cured I get my enamels. I spray using Tamiya sprays which are lacquer based, so enamals are the best choice. I have black and gray for this.
 and the brush I use for drybrushing is my old toothbrush. Complete with my DNA for the added touch.
 3)I mixed black and gray because I didn't want a complete black for damage. Having nothing better lying around, use a straw to get the enamels into the paint tray.
 4)I take the brush and use it to mix the black and gray together. Then wipe the brush thoroughly on paper I have ready. ( you can see that in this picture). I brush over the entire piece completely. It is alright if you do it excessively because you will taking most of it off later.
 5)I wait a day for the enamels to dry and then get my enamel thinner.
 Using a q-tip dipped in the thinner, I wipe the entire surface of the piece. The enamel that has filled the scrapes and gauges will stay, as well as on corners. If it still looks too dirty I just use more thinner. I do go through quite a few q-tips, though.
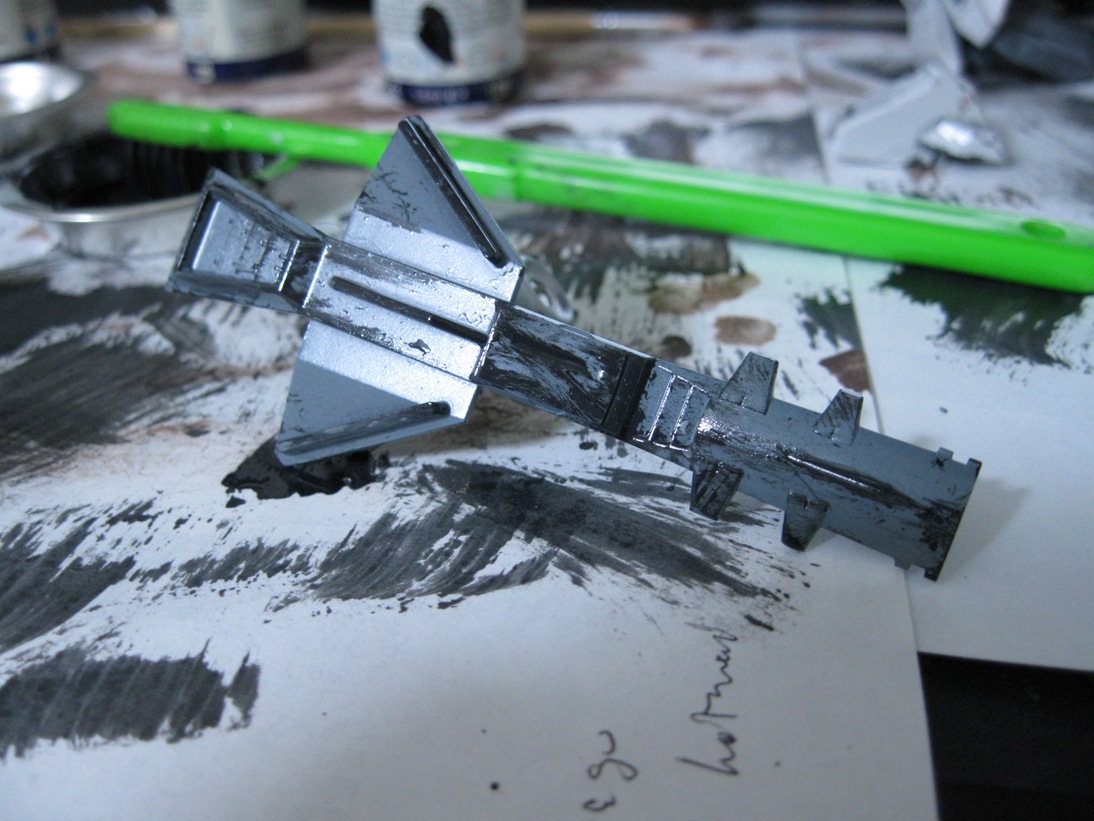
Here is another piece ready for the same treatment. It's important to top coat before using the enamel thinner as it can take off the laquer paint as well if you are not careful.
 As for the Lucas Strike. He is complete now. I had to create a piece for the skirt armour because I accidentally threw it away, but it looks fine. The shield is built and ready for the final dry brushing (pics to come). The weapons are in the final stage of assembly and the extra hands were flat coated today. Just the IWSP remains.
Looking very good! Can't wait for the gallery on this one.
ReplyDeleteGreat technique BTW. I will be bookmarking this post for future reference.
You have achieved a great effect. Similar to the heavy weathering that's common in store displays and I guess among modelers in Japan.